How to Use the Arizer Solo 3 (V2): Loading, Heating and First Session
To use the Arizer Solo 3 V2.0: charge it fully, load coarsely ground dry herb into a glass aroma tube by pushing and slightly twisting the tube into a small container of herb, insert the tube into the device, hold the center button to power on, unlock with LEFT, UP, RIGHT if the lock appears, then pick session or on-demand mode. In session mode it heats automatically; in on-demand mode press UP to heat and inhale when the bars turn yellow. Everything below is from Arizer's own manual and support page.
For temperatures, presets and menu options, see our Solo 3 settings guide. If you are still deciding on the device, read the Solo 3 V2.0 review. More Arizer articles are in the Arizer hub.
- What is in the box
- Before the first session
- Loading a glass aroma tube
- Powering on and starting
- Drawing, water pipes and pre-loaded tubes
- After the session
- Common first-session mistakes

1. What Is in the Box
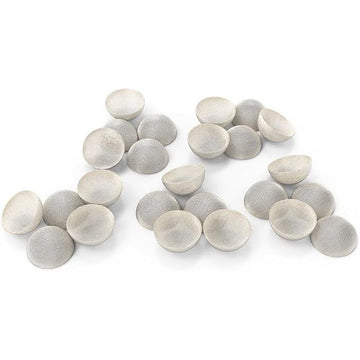
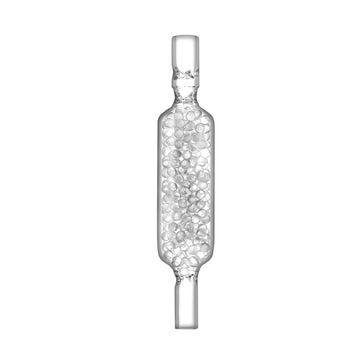
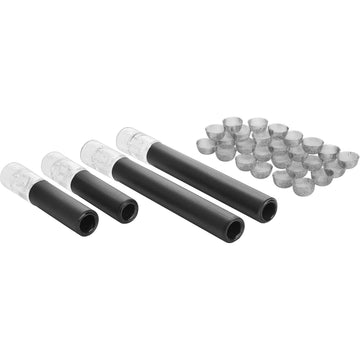
According to our Solo 3 V2.0 listing, the box has the Solo 3 and its manual, a 5 V 3 A USB-C charger, an XL glass aroma tube (90 mm) and an XL frosted glass tube (14 mm), a standard Air/Solo glass tube (90 mm) and frosted tube (14 mm), four silicone stem caps, travel tubes in 90 mm and 70 mm sizes with caps, a stainless steel stirring tool and four filter screens. The frosted 14 mm tubes are for connecting to a water pipe or bubbler.
2. Before the First Session
- Charge it. Arizer says to fully charge the Solo 3 before first use, and to use only the official charger and battery. Charging takes about 3 hours.
- Check the glass. Look over the tubes for cracks or chips before you use them.
- Ease in a tight tube. Glass aroma tubes may fit tightly at first. If one is hard to insert, Arizer says to turn the device on, set 200 °C and let it heat for 1 to 2 minutes, then try again.
- Burn off packaging residue. Arizer suggests setting 220 °C and letting the unit heat for 5 to 10 minutes with nothing loaded.
3. Loading a Glass Aroma Tube
Arizer's preferred method is to put coarsely ground dry herb in a small container, then gently push and slightly twist the open end of the glass tube into it until the dish is full. Do not press too hard or pack too tightly. This design makes the tubes easy to maintain and helps performance. Alternatively, you can load the chamber with pre-ground herb or small pieces by hand and lightly tamp it, leaving a slight gap of 1 to 2 mm for convection heating.
Some people prefer to top-load and then insert the tube, and our loading funnel is made for that. The product page recommends finely ground herb because the spout is thin. Keep the herb coarse for the push-and-twist method, but use a finer grind for the funnel. The Solo 3 also comes with an XL tube for larger loads.
4. Powering On and Starting
- Power on. Press and hold the center button for 3 seconds, then release. If the lock screen appears, press LEFT, then UP, then RIGHT in order. The lock can be turned off in the settings menu.
- Select a mode. Press UP or DOWN to choose Session Mode or On Demand Mode and press the center button. You can switch mode any time by holding LEFT.
- Insert the glass aroma tube with the loaded end first.
- Heat. In Session Mode the Solo 3 starts heating automatically. In On Demand Mode press UP to begin heating to the current preset.
Arizer says the heat-up takes 5 to 15 seconds, and the display shows heating, then ready when the target is reached. In session mode, press UP or DOWN to change the temperature by 1 °C, or hold for 10 °C. In on-demand mode, the bars turn yellow when the device is heated and ready, then white during your heat time, then grey as it cools. Our settings guide explains presets and heat time.
5. Drawing, Water Pipes and Pre-Loaded Tubes
When heated, inhale through the glass tube or a connected bubbler. Arizer notes that the temperature to use depends on the type of botanical, its moisture content, how it is ground and your own preferences, so treat early sessions as experiments.
- With a water pipe or bubbler. Use the frosted 14 mm tube. When the Solo 3 is turned upside down with the Inversion setting on, the display and controls flip automatically. Our guide to using the Solo 3 with a water pipe has step-by-step advice.
- Pre-loaded tubes. Arizer designed the glass tube system so you can pre-load tubes and swap them on the go without emptying or cleaning bowls. Cap them with the silicone stem caps and carry extra loads in the travel tubes.
- Session time. Press the center button during a session to open the toggle and add 5 minutes with +5 MIN. Auto-Off can be changed in the settings.
6. After the Session
Hot glass and hot parts need care: Arizer says to attach the heat-rated silicone caps to cover the hot end of glass parts, and to let the unit and hot parts cool before putting them in a bag or pocket. Avoid exposing hot glass to cold water. When flavor drops, soak the glass parts in isopropyl alcohol for a couple of hours, rinse with hot water and dry them completely. The Solo 3 itself is described as almost maintenance-free. A spare pair of 70 mm short stems gives you a second pre-loadable tube, and our Solo 3 stem guide and accessories collection help you choose more.
7. Common First-Session Mistakes
- Packing too tightly. Arizer's whole loading method is built around a light touch and a 1 to 2 mm gap. A tight pack restricts airflow and leads to thin vapor.
- Grinding too fine for the twist method. Coarse is the recommendation when you push the tube into a container. Save finer grinds for the funnel.
- Forcing a stiff tube. Use the warm-up trick from the manual instead of pushing hard on cold glass.
- Starting too high. Begin with the middle preset and move in small steps. Our settings guide lists the range.
- Not unlocking. If the buttons seem dead, the lock screen may be active: LEFT, UP, RIGHT unlocks it, and a password hint is etched on the underside of the device.
- Using the wrong charger. Arizer says to use only official Solo 3 batteries and chargers, and not to use third-party or unknown ones.
Final Thoughts
The Solo 3 is easy once the routine is familiar: load gently, keep a small gap, unlock, choose a mode and draw slowly. Start with the factory presets, add a spare tube or two for convenience and use the settings guide when you want to fine-tune.